It's the month of September & my birthday's coming up. What more than to kick the month off with a cool post!
Today we're going to take a look at Arms Master Optimus Prime from the Transformers Arms Micron series.
This post is packed with loads of images & you'll know why shortly.
If it takes a while to load, my sincerest apologies as I hope you can
bear with me.
I
would say that this would be the leader class version of Optimus Prime
from the TF Prime series. Prior to this there were a couple of deluxe
class Primes as well as a whole load of various voyager versions.
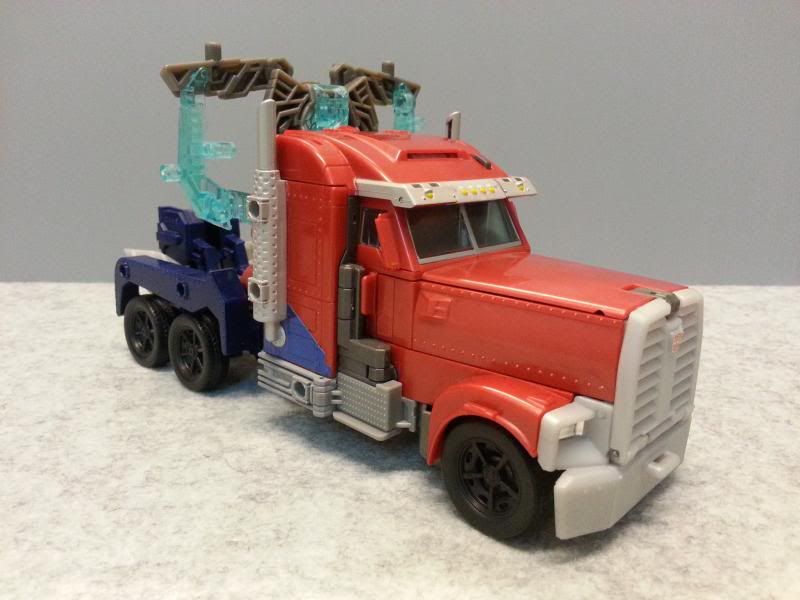
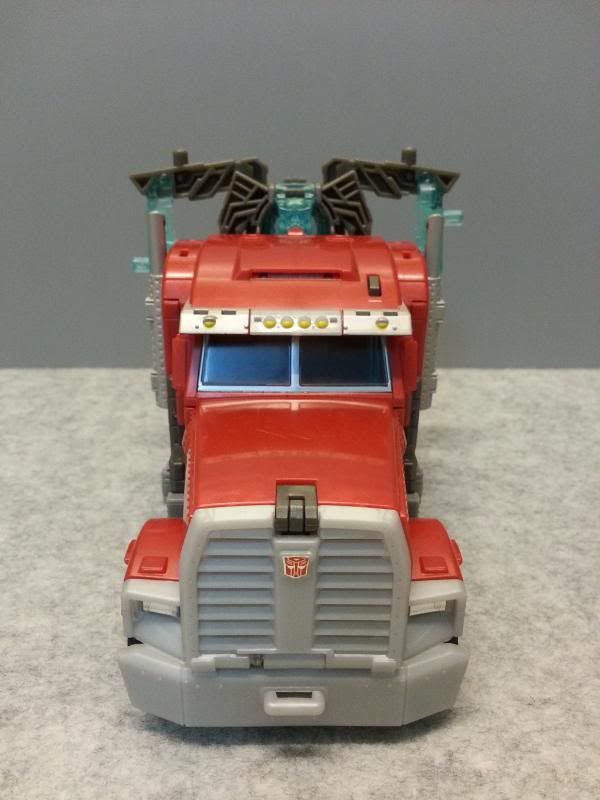
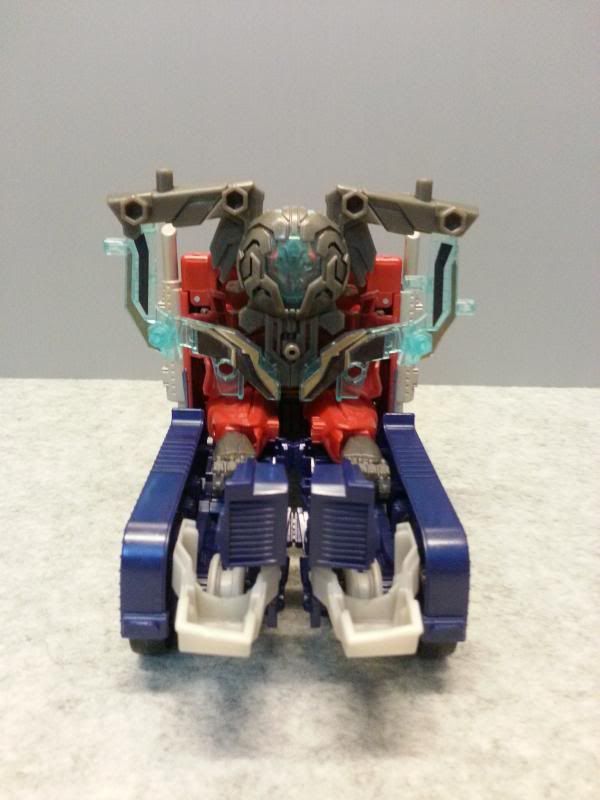
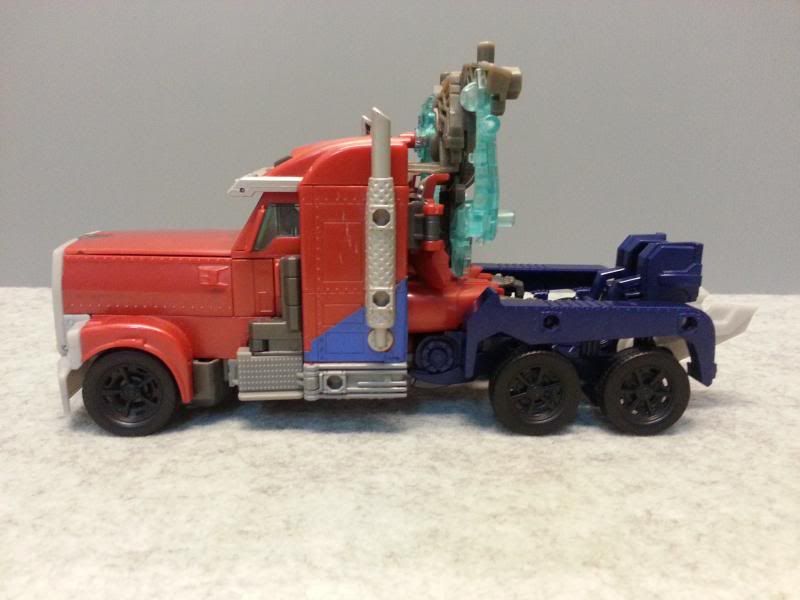
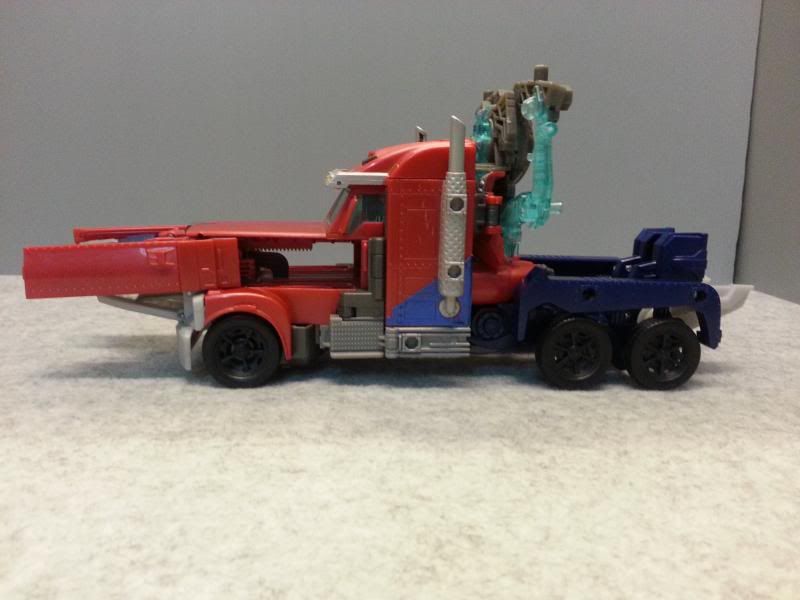
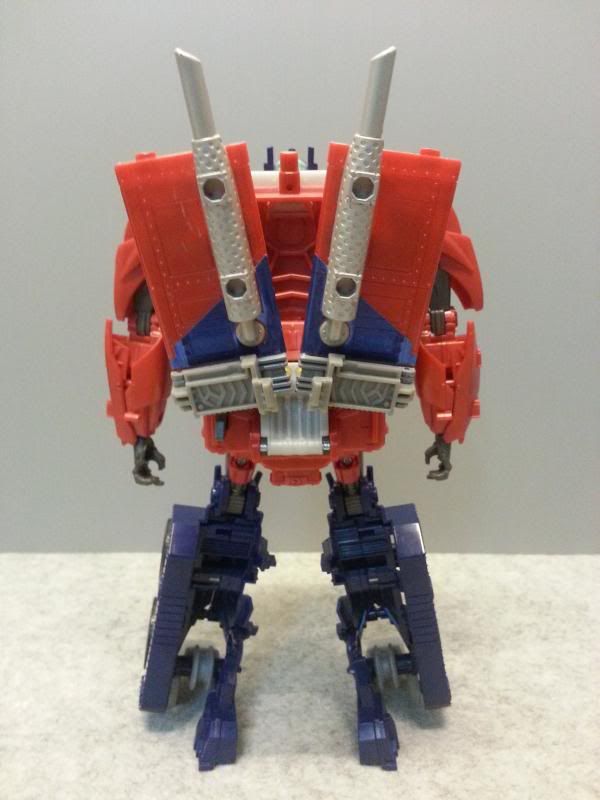
As you can see, thie Prime carries the huge Matrix at the back of the truck.
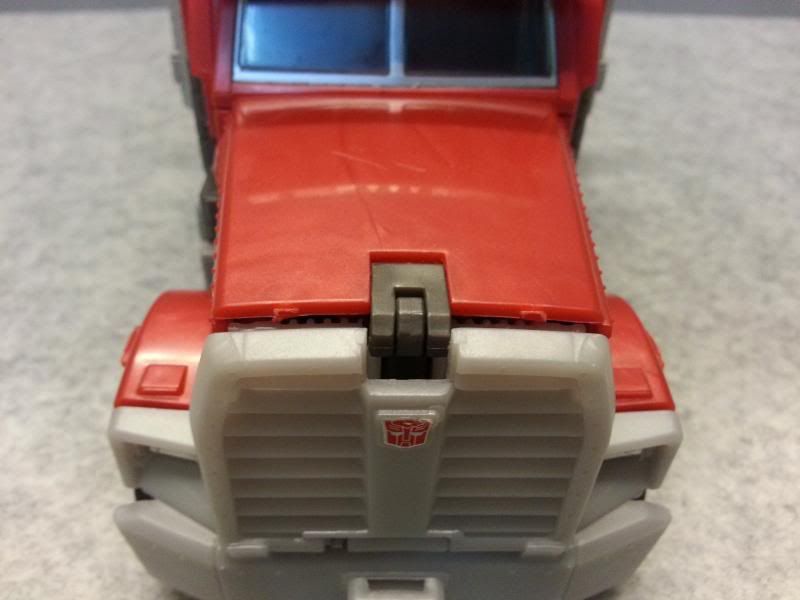
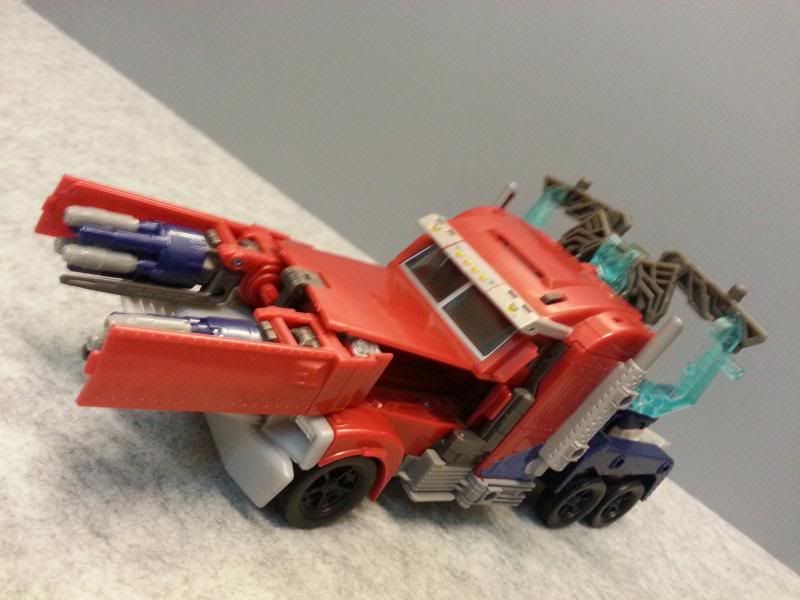
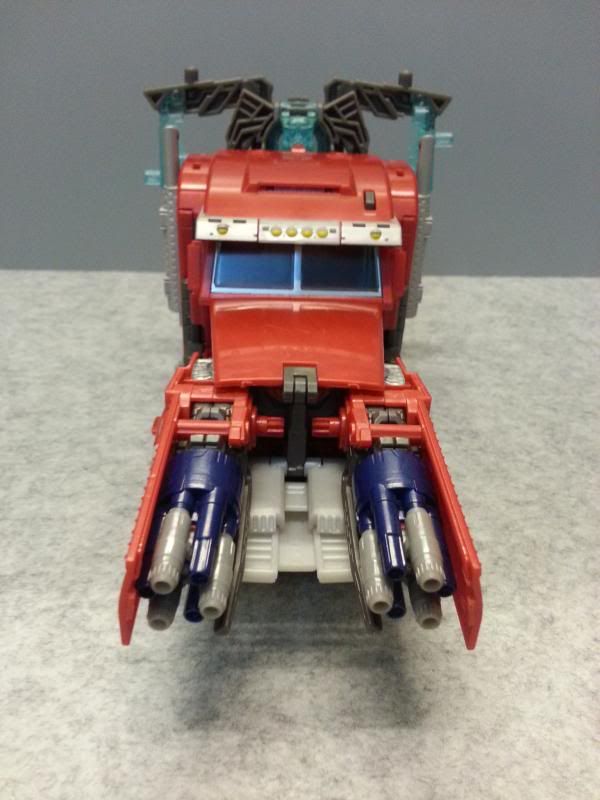
Here's a gimmick that the truck pulls off. First, you'll have to loosen the grill of the truck in front just a little. Then all you have to do is to press down the grey button at the top of the cab. This will cause a pair of spinning blasters to literally roll out. However, as cool as the picture look in the blog & on the box, the rolling out mechanism isn't smooth at all. Almost 10/10 times the blasters get stuck half way & you would have to manually drag them out.
Here's different angles of the truck with the blasters fully rolled out.
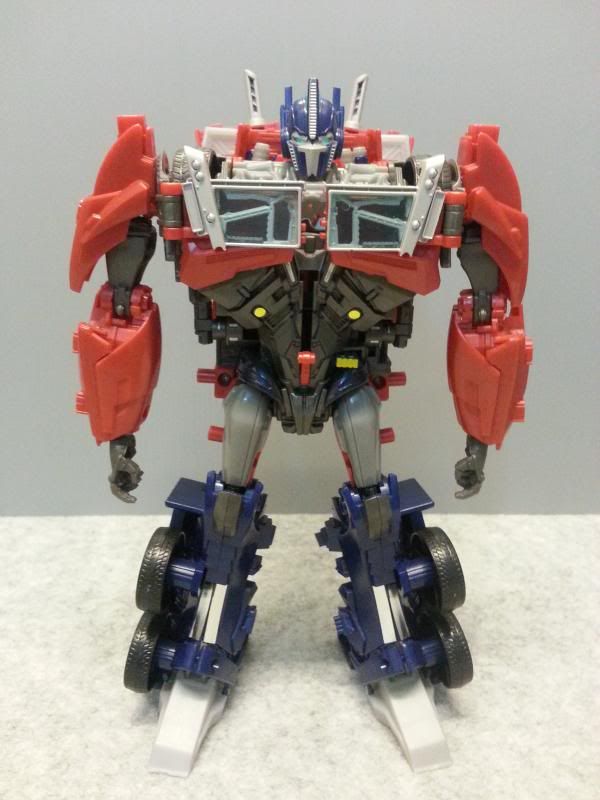
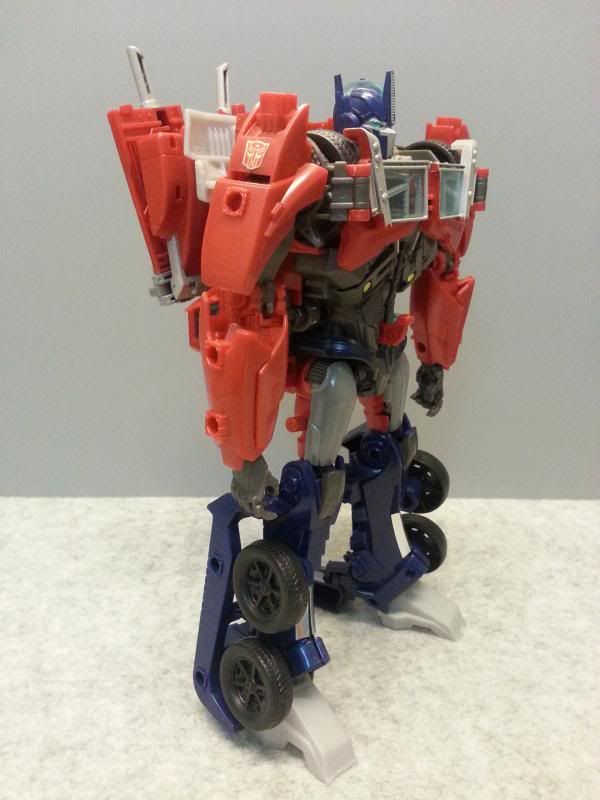
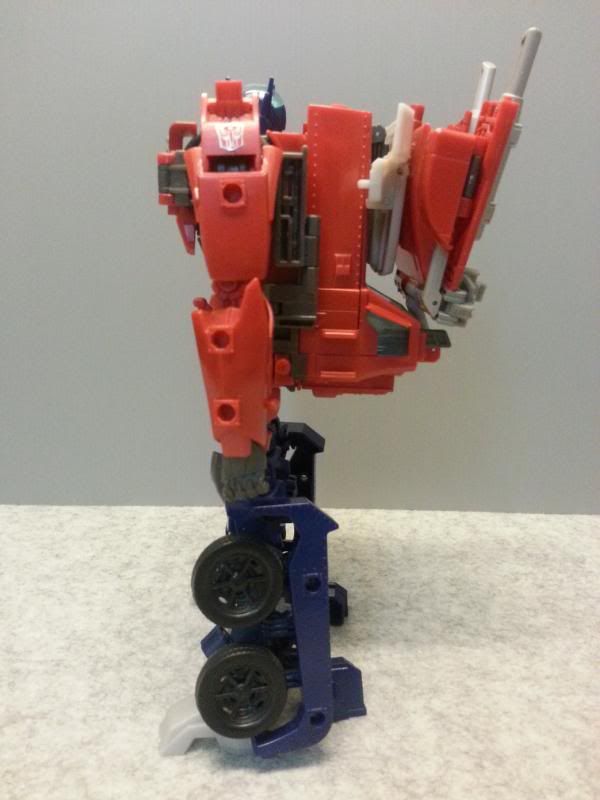
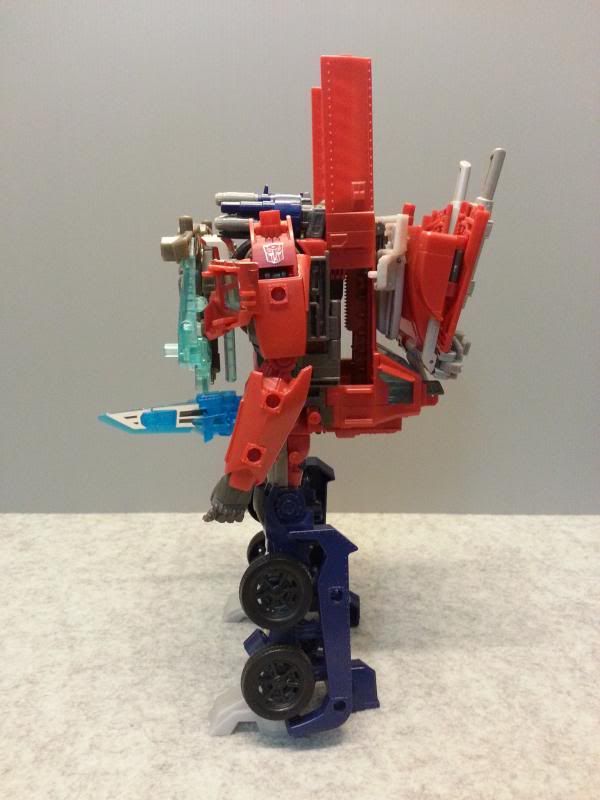
Being a leader class figure, transformation is very simple. Prime stands all high & mighty until you start realizing that Prime looks like he's suffering from a hunched back when you view the toy from the side.
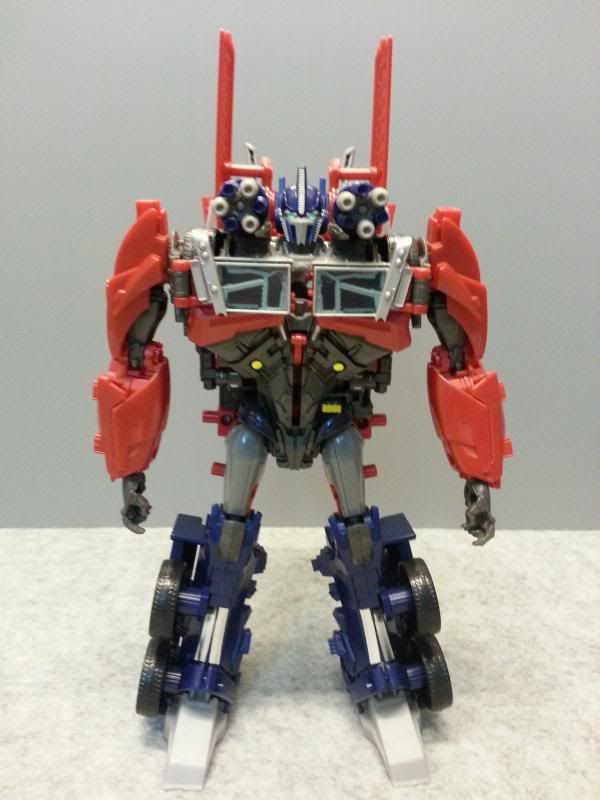
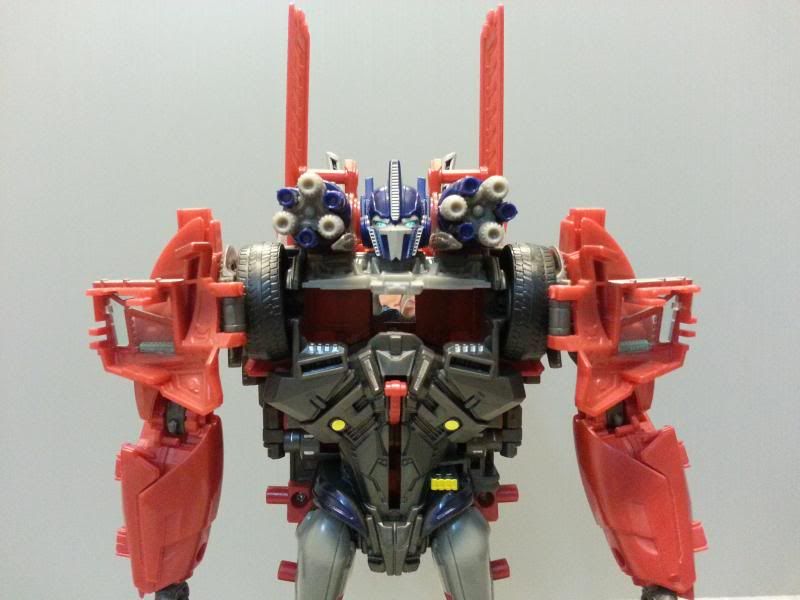
Do take note of the yellow button at the kidney area of the robot. Once pressed, the spinning cannons are drawn out.
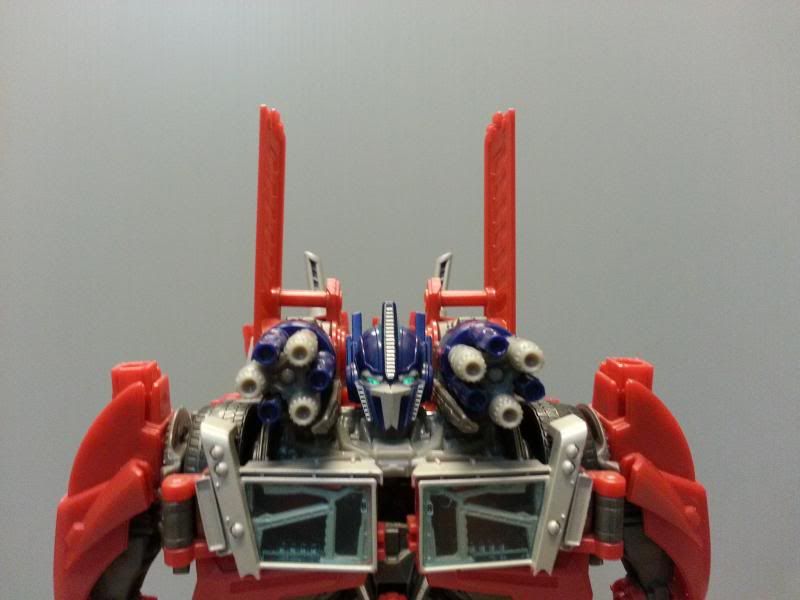
Here we have the spinning guns in robot mode. Just like in vehicle mode, 10/10 times the blasters get stuck half way out.
With both blasters out, Prime now looks more formidable.
Now let's see what the Matrix can do.
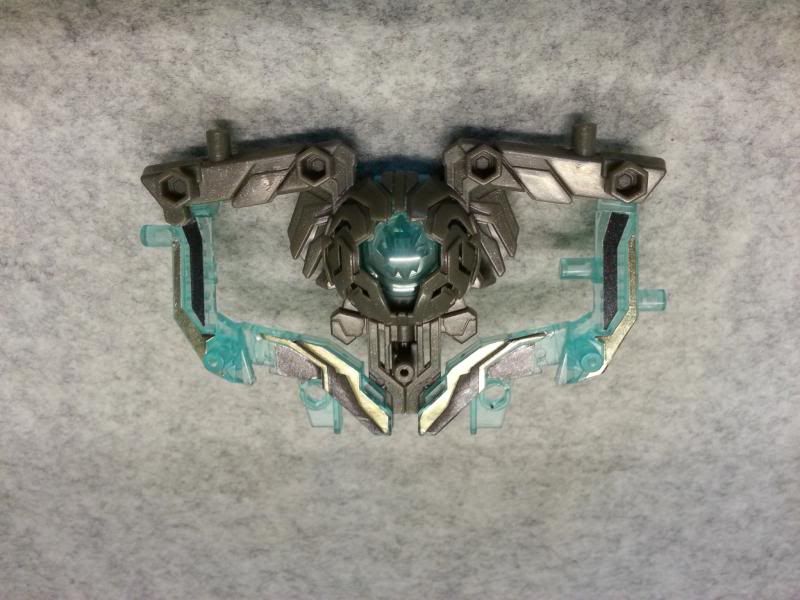
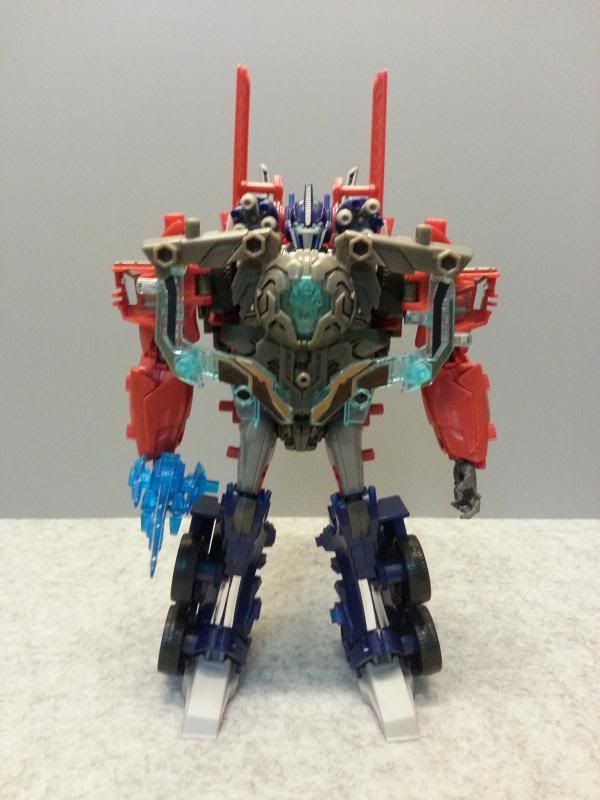
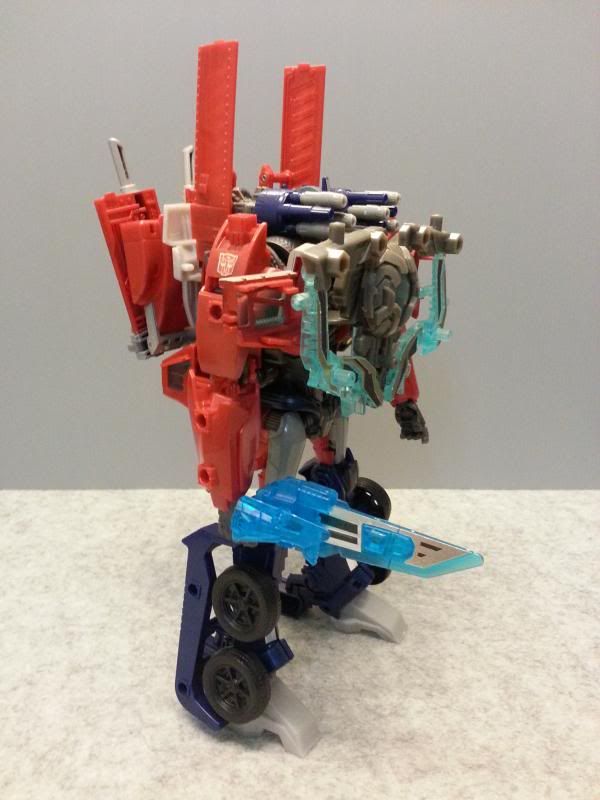
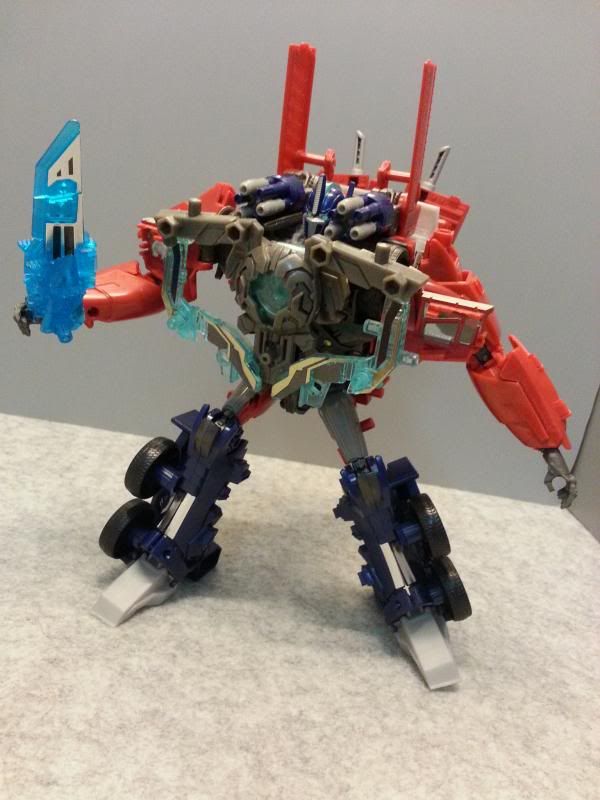
Prime's chest opens for you to clip the Matrix onto the main body. If you look closer at the picture above you can see a small reflective mirror at the centre of the body. Now I wonder what you can do with it?
Here's prime with the Matrix & his Arms Micron R.A. (Blue). The original Arms Micron weapon first came together with Ratchet.
Posture is a little difficult as the legs are huge & bulky.
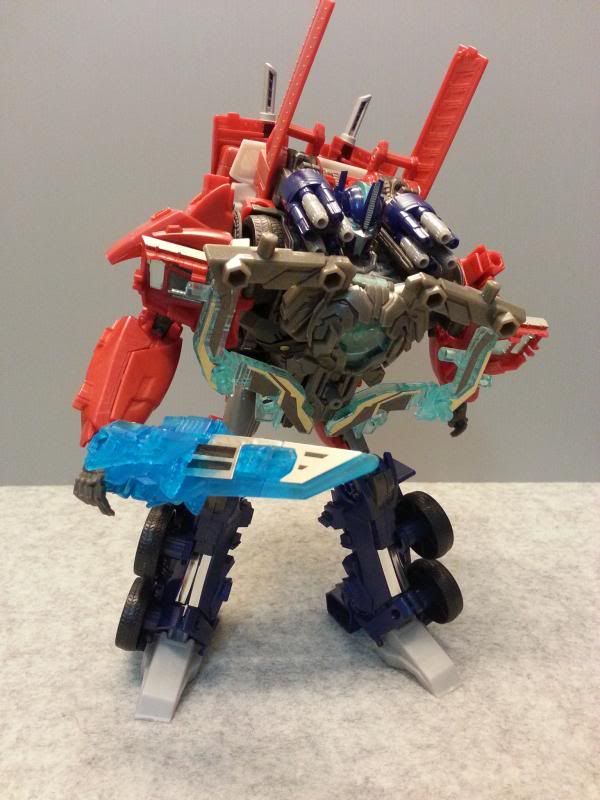
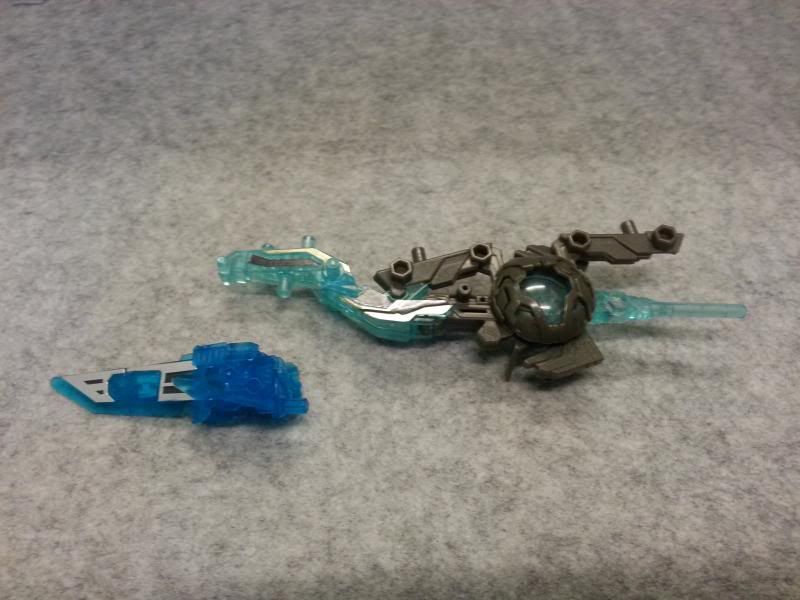
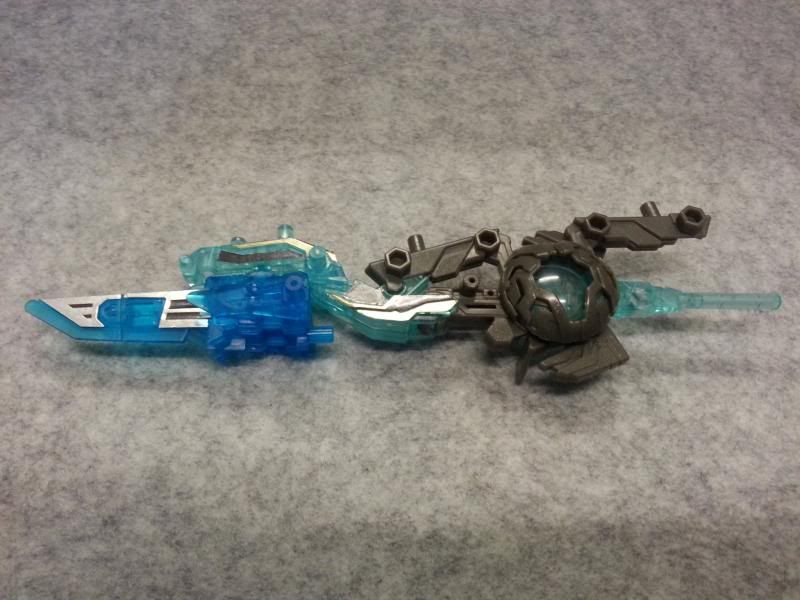
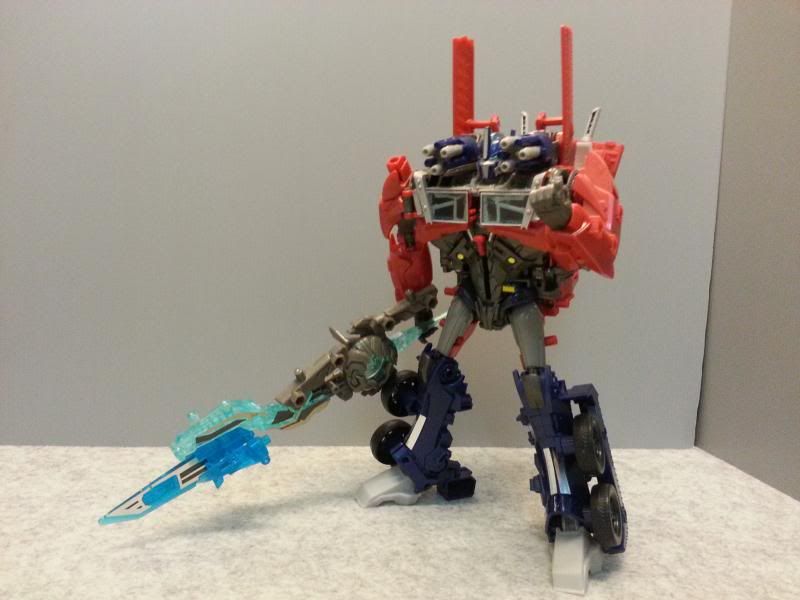
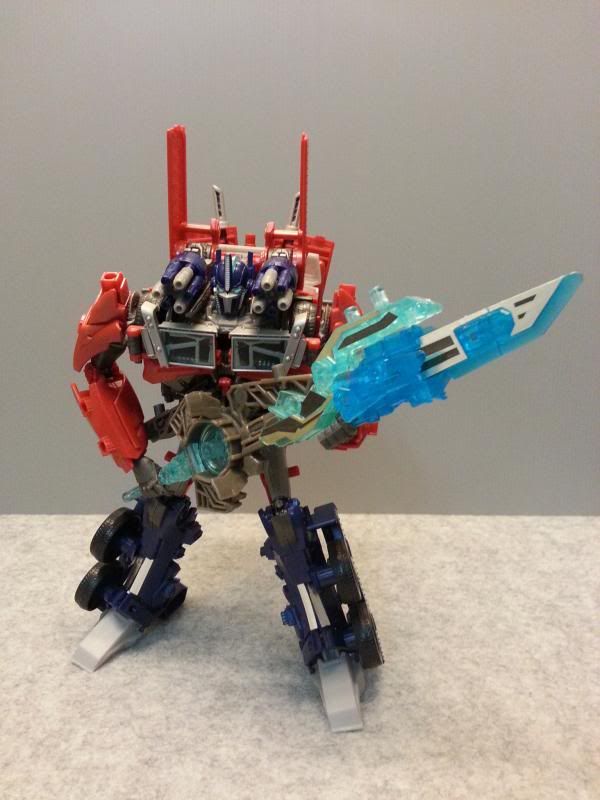
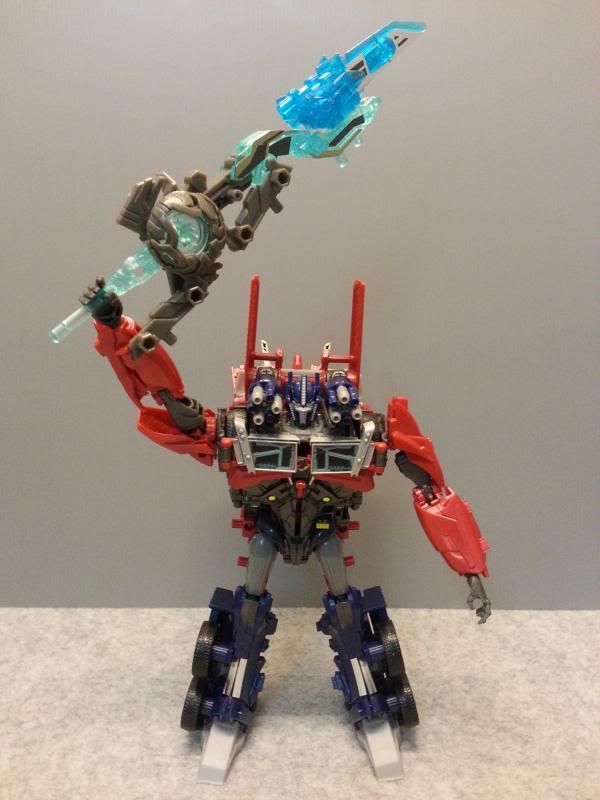
Here's the other cool thing about the Matrix. It can be twisted & folded to form part of a large blade that can be attached together with AM R.A (Blue).
Now Prime looks a whole lot better than having the silly huge Matrix sticking out like a sore thumb attached to the chest.
In case you haven't known, I've actually been collecting this series heavily because I've been quite obsessed with the Arms Micron weapons. This was proven many years ago when I was collecting the Armada / Micron Densetsu line where I was hunting high & low for rare Mini-Cons.
Being the largest figure in this series, I reckon that Prime would be equipped with many more holes & pegs for me to attach the AM weapons onto him. Below is a chronological order of how I kept increasing the number of AM weapons to be attached onto Arms Master Optimus Prime.
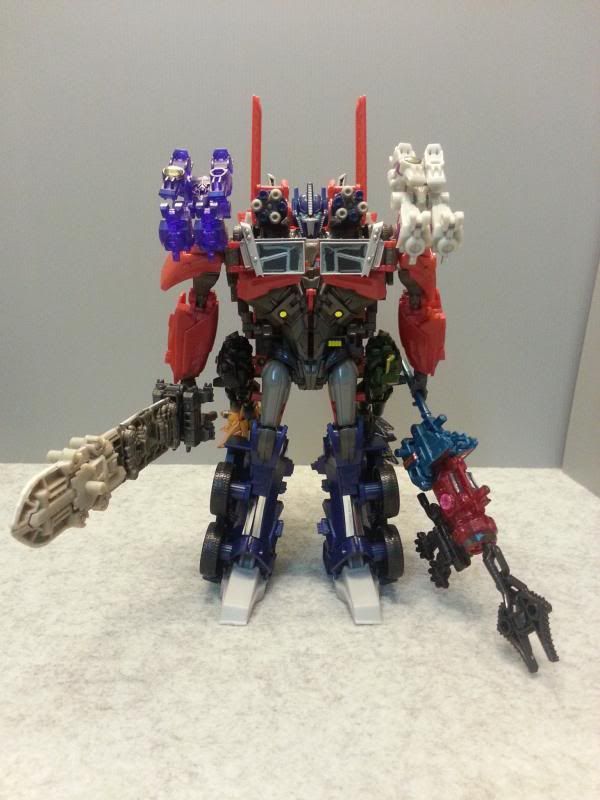
Arms Master 50 - OP Mark 1
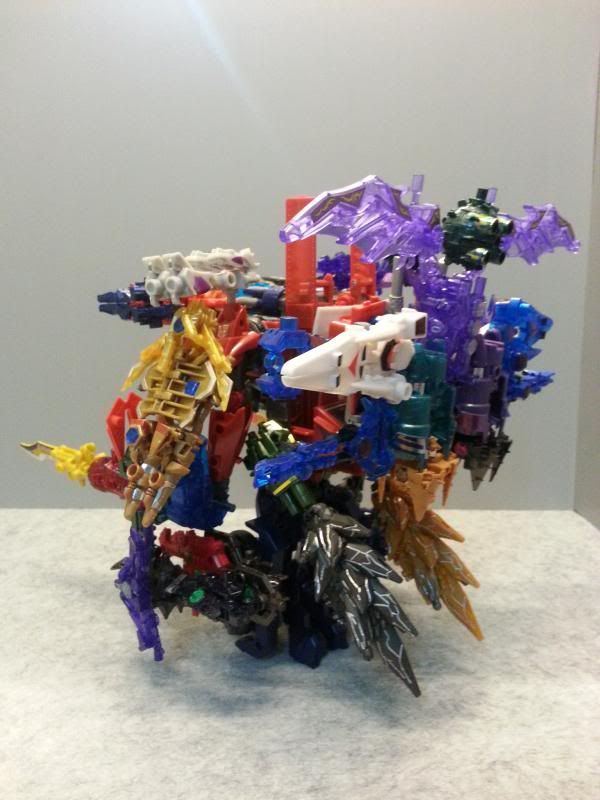
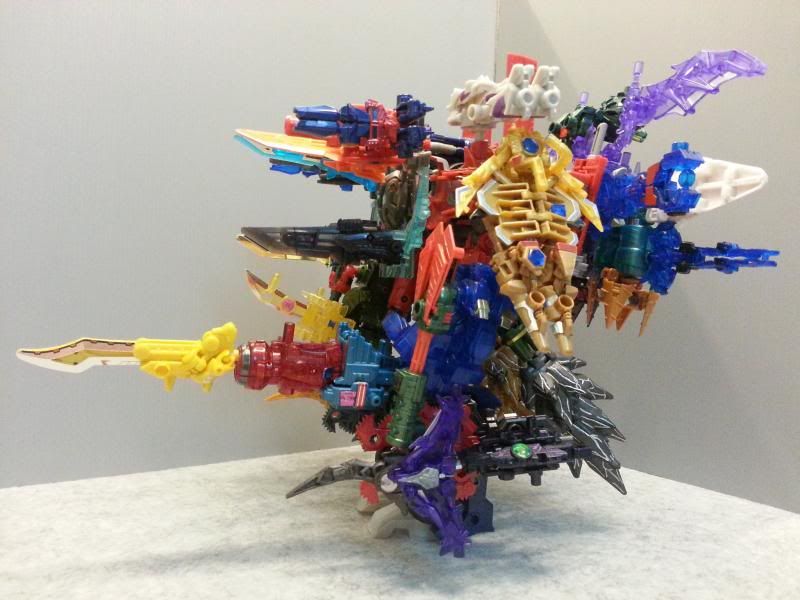
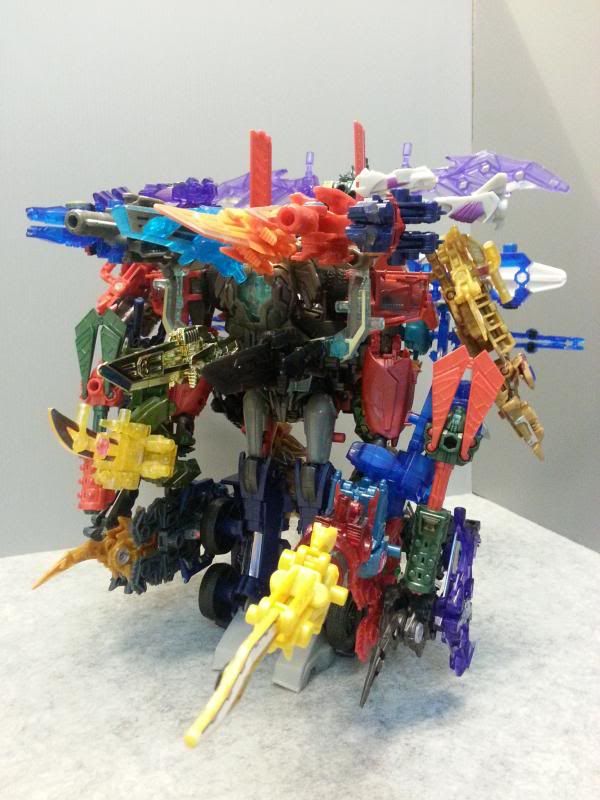
Here's the charged up version. Presenting to you, the making of AM74 - OP Mark 2
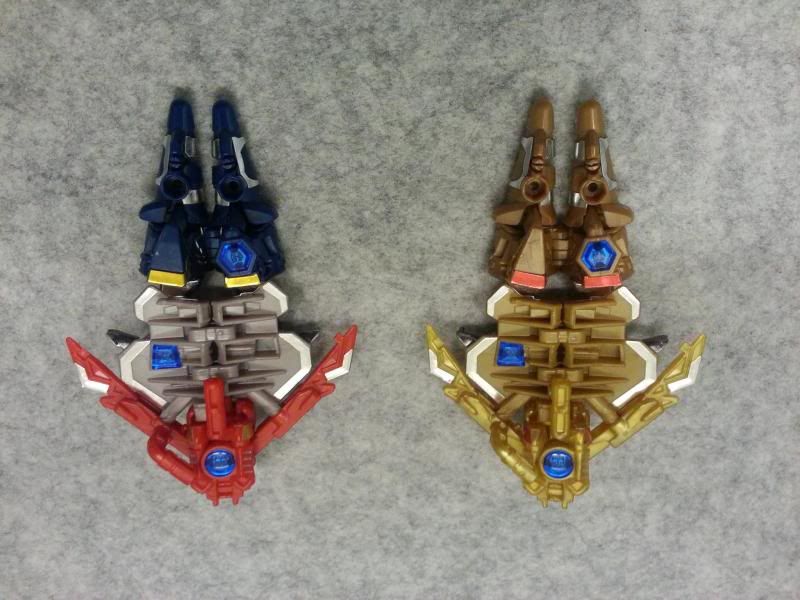
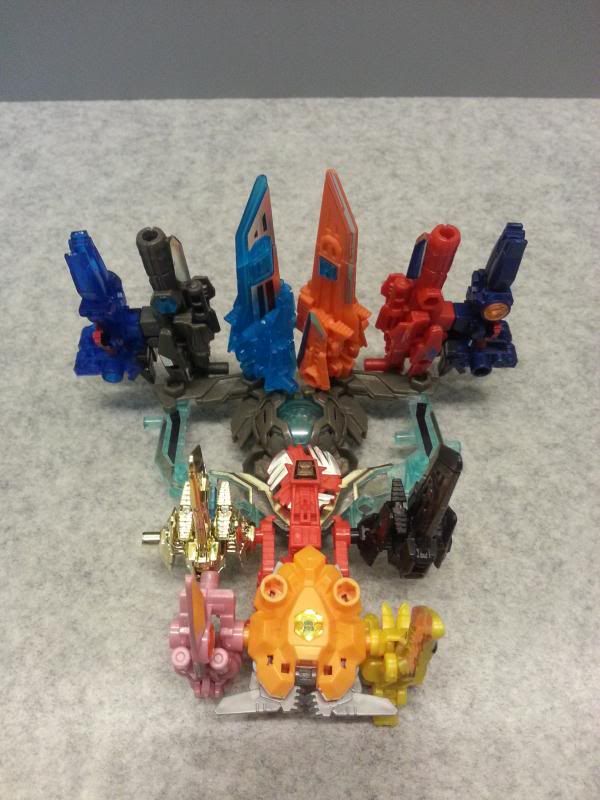
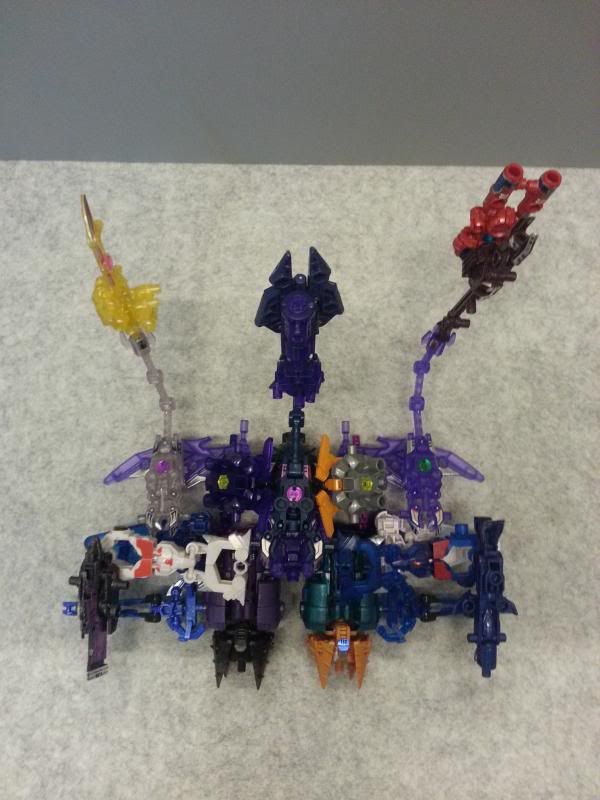
Step 1 - Shoulders, Rear thrusters, Hand weapons
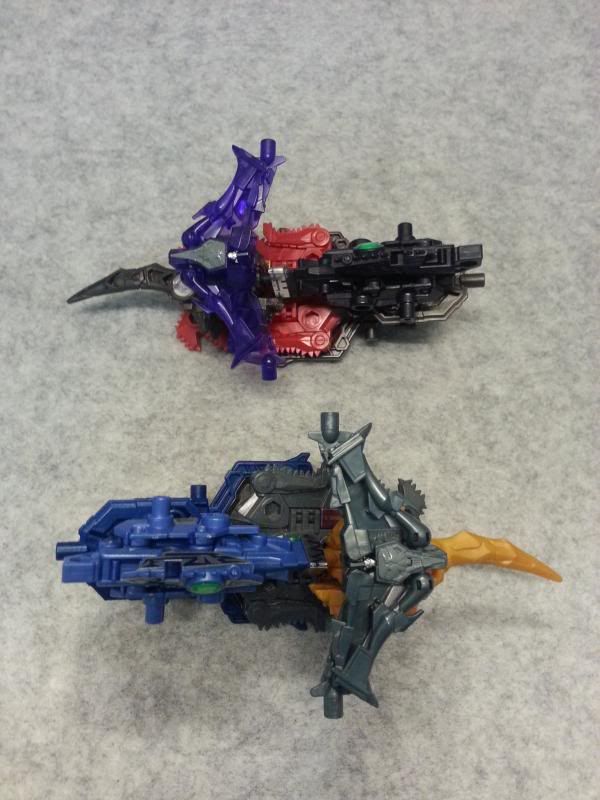
Step 3 - Shoulder pads, Leg shields
Step 4 - Matrix, Chest shield
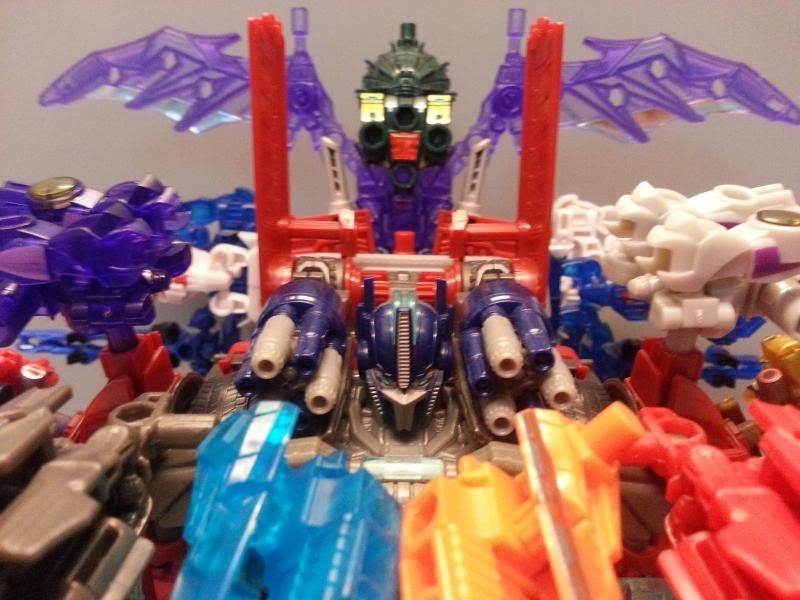
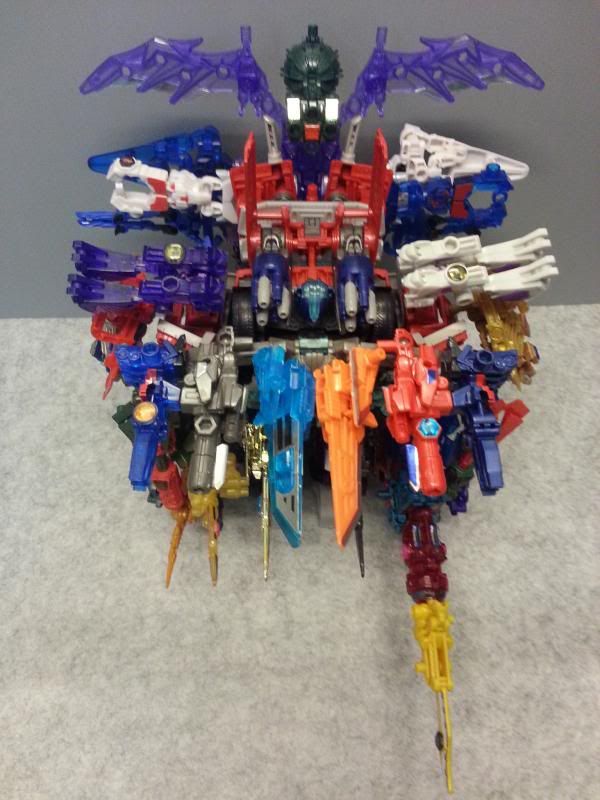
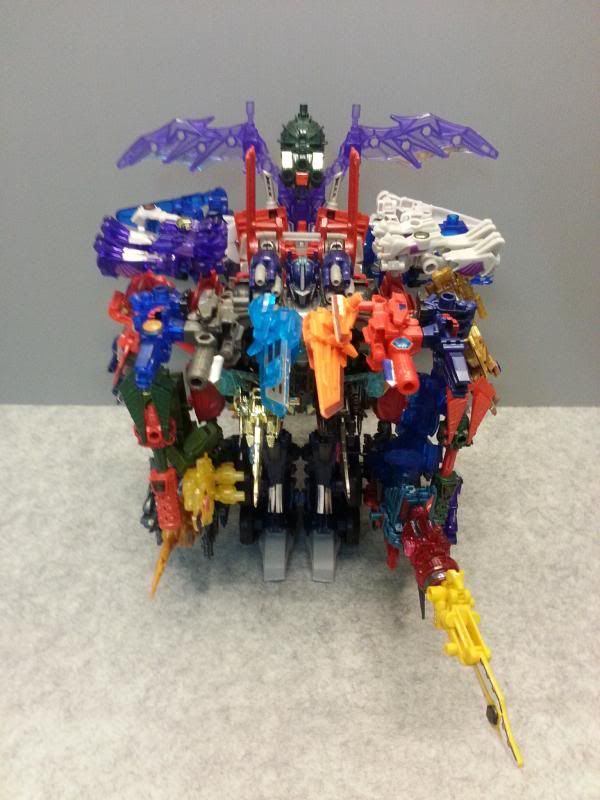
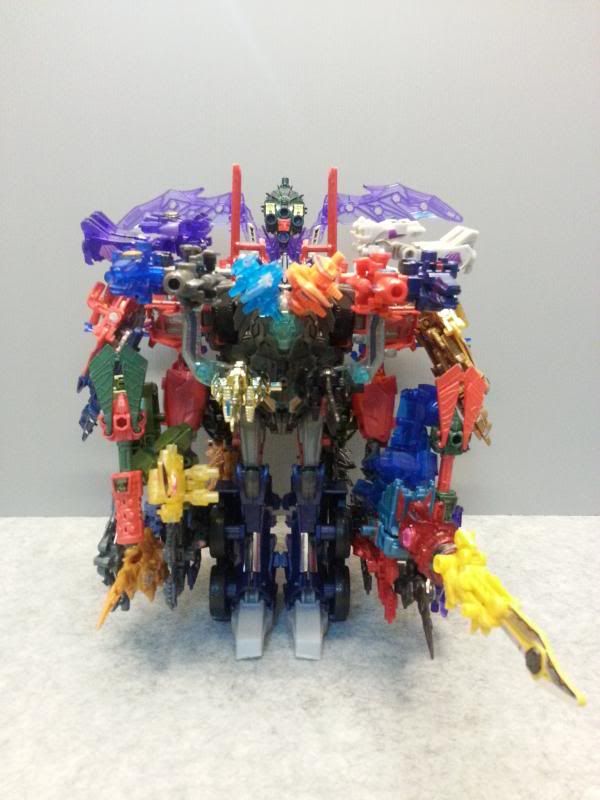
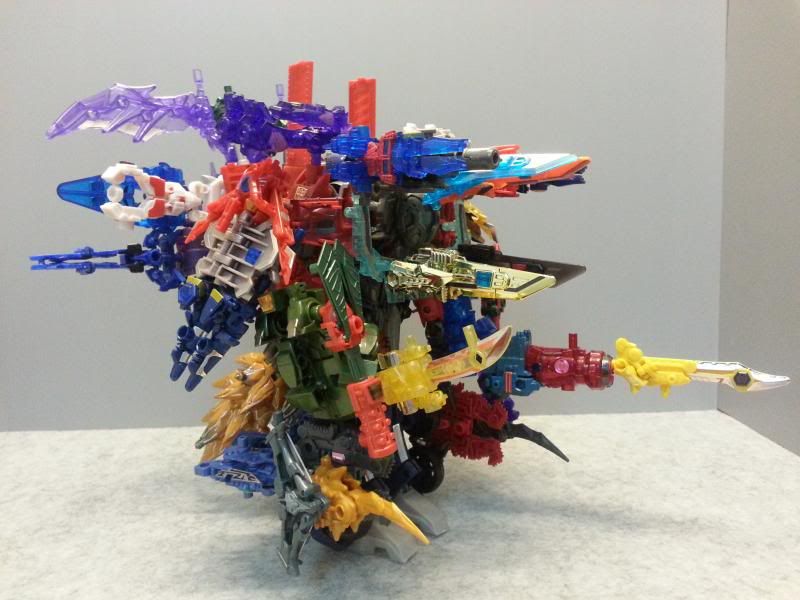
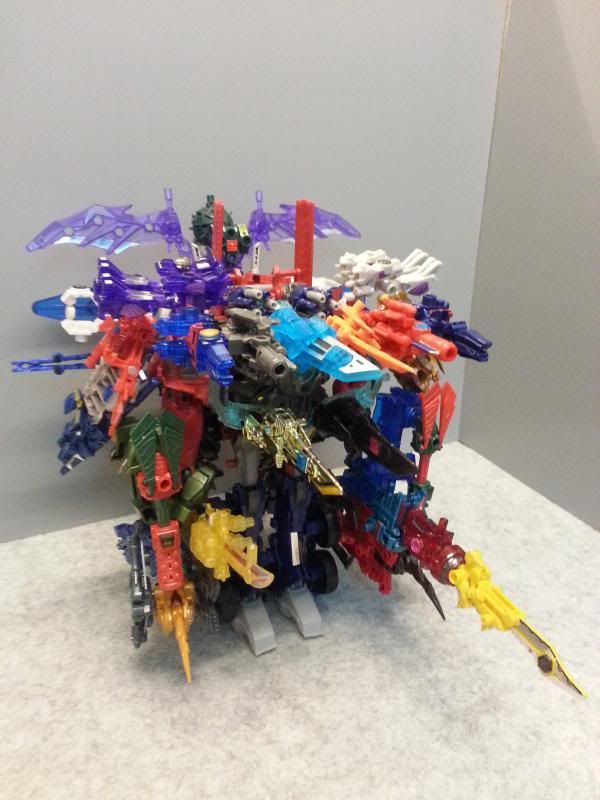
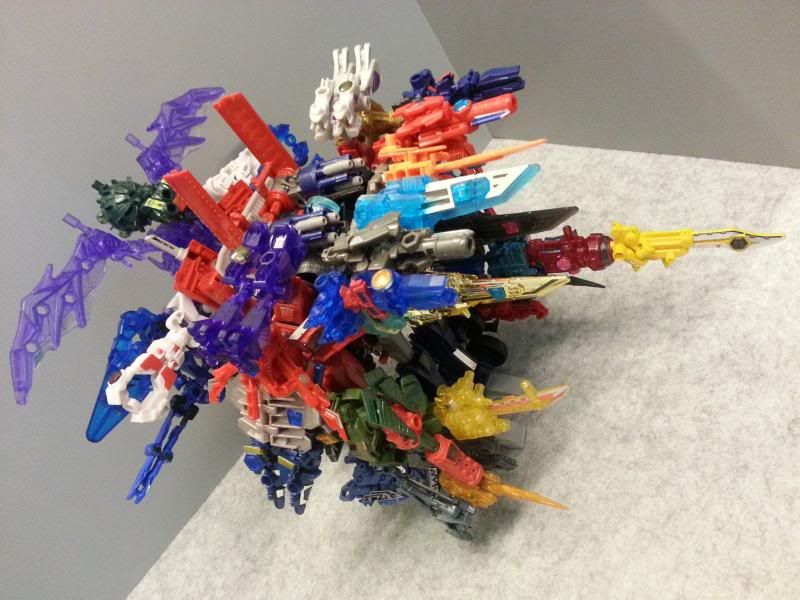
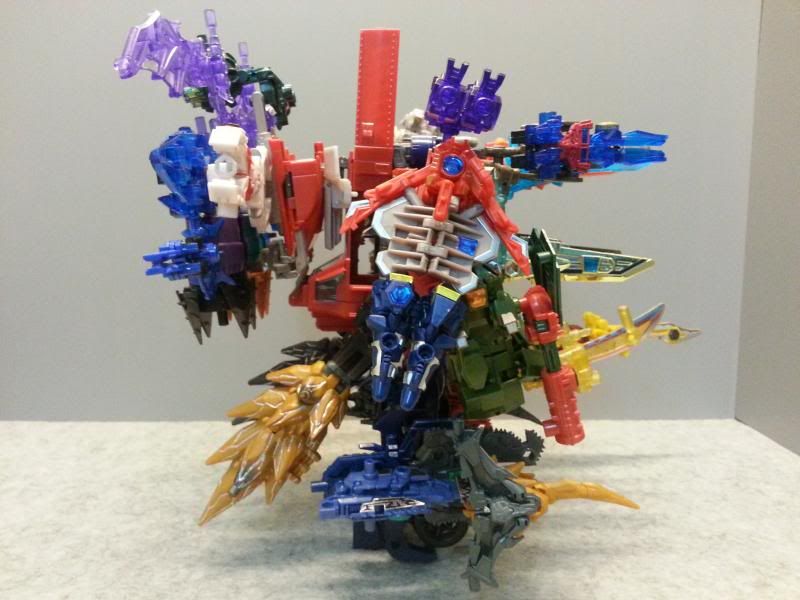
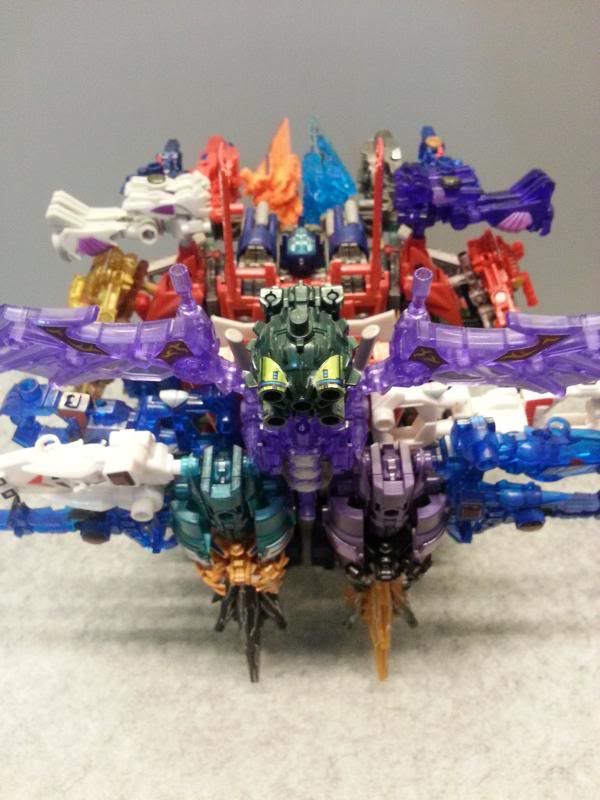
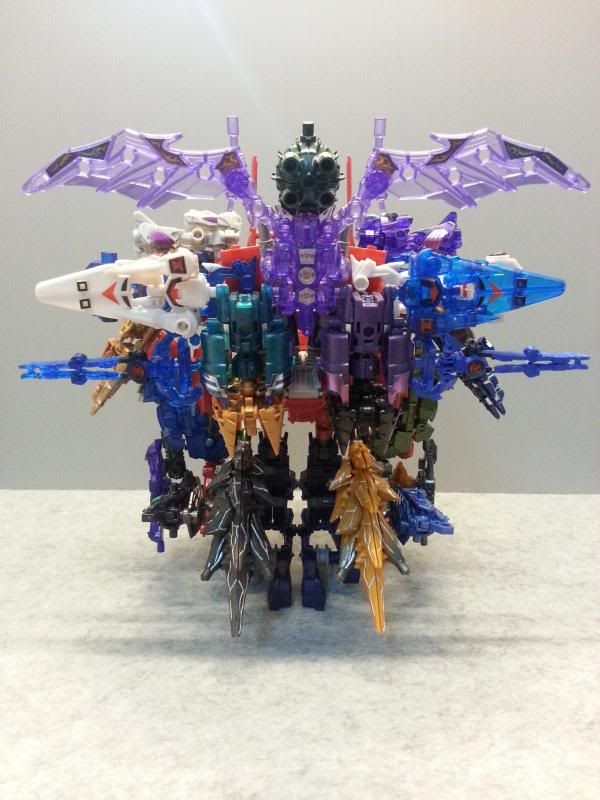
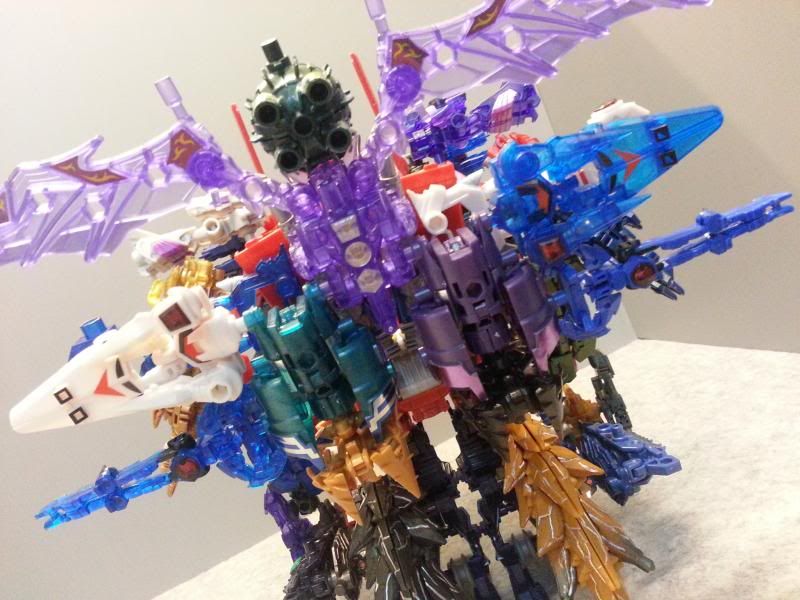
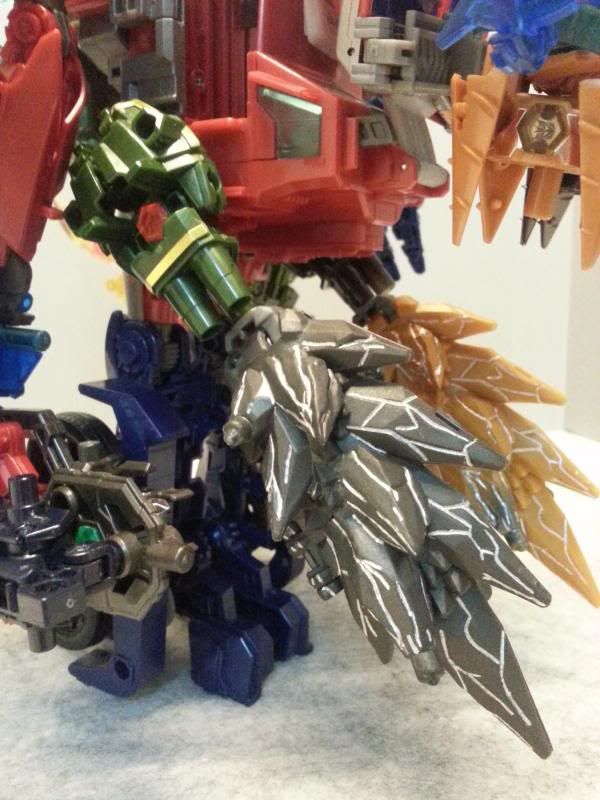
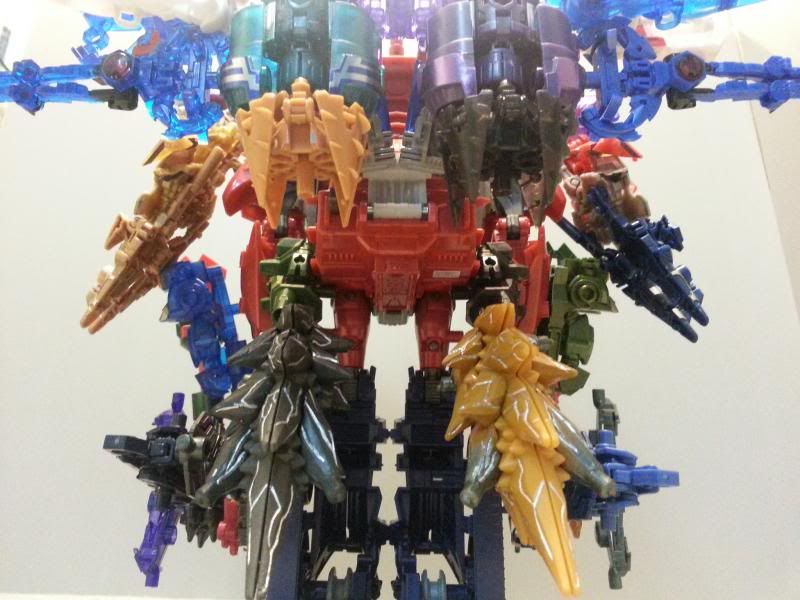
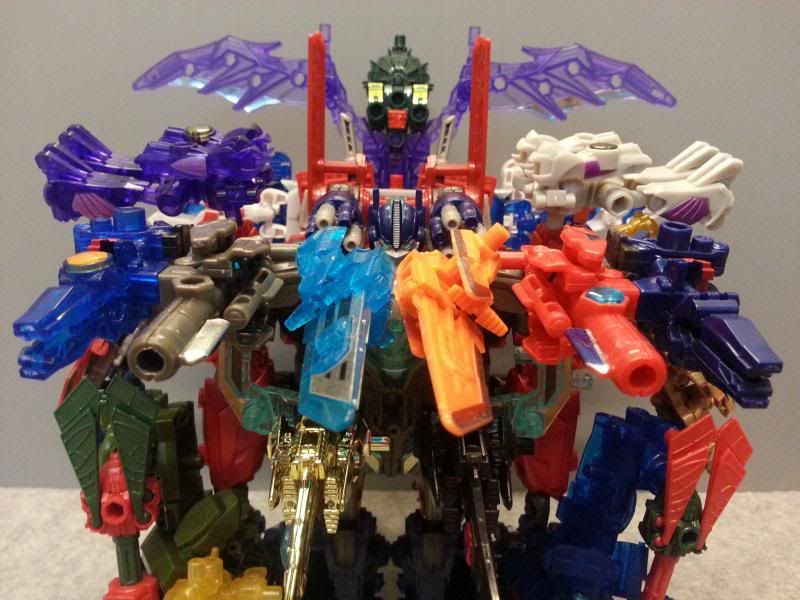
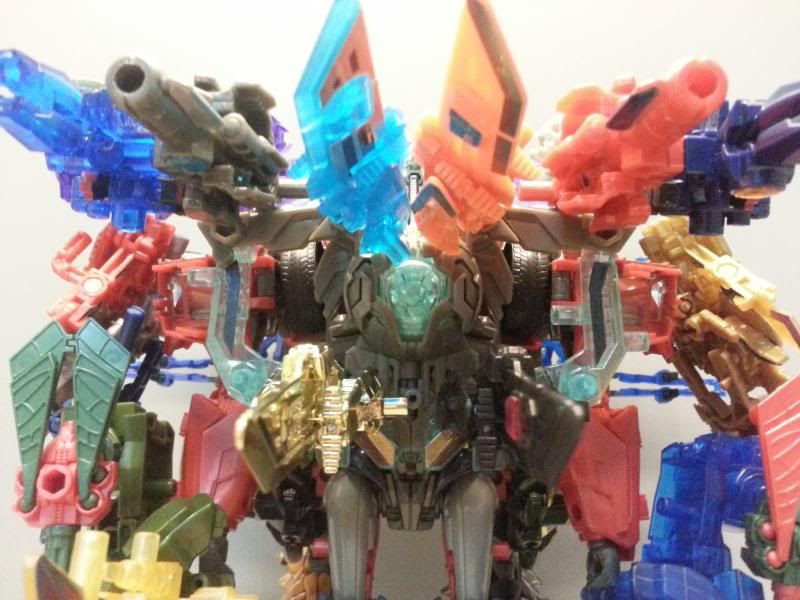
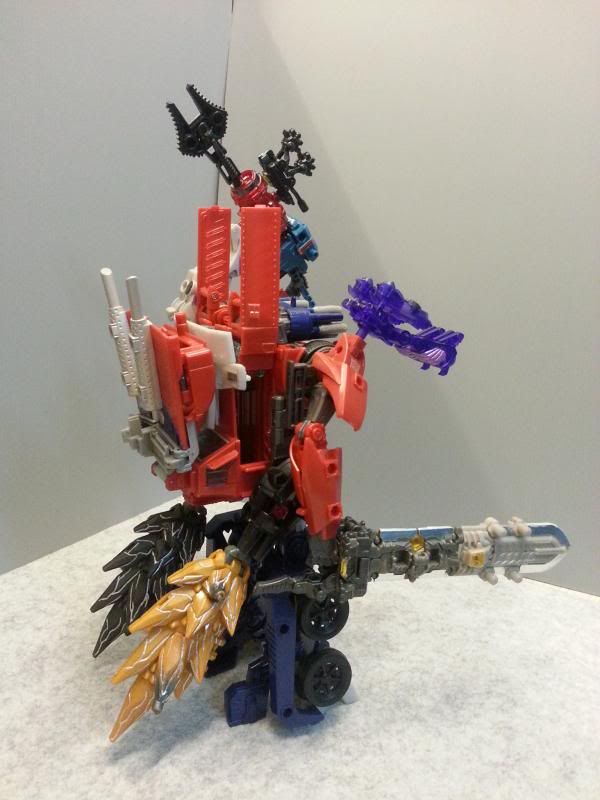
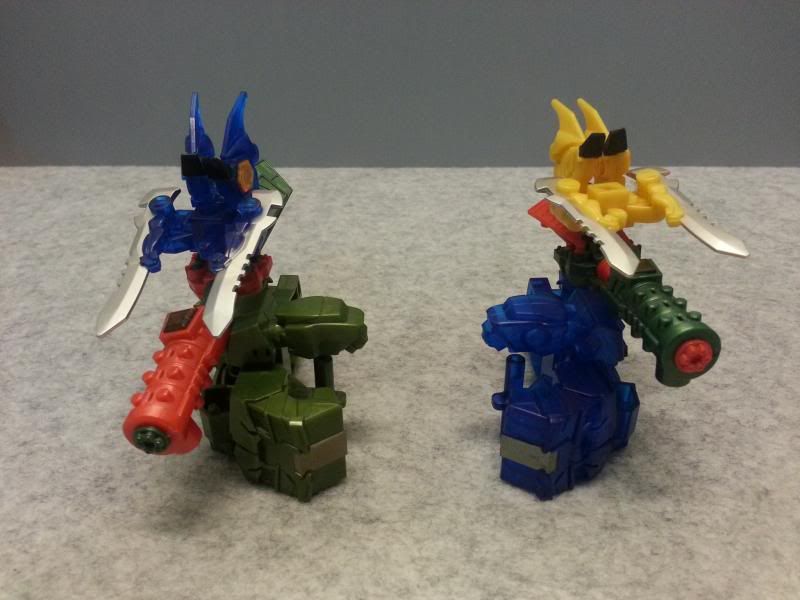
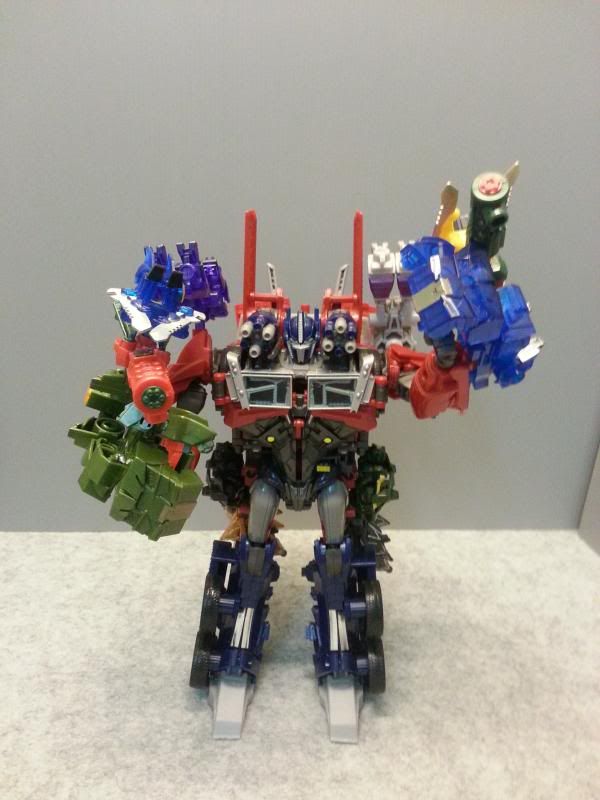
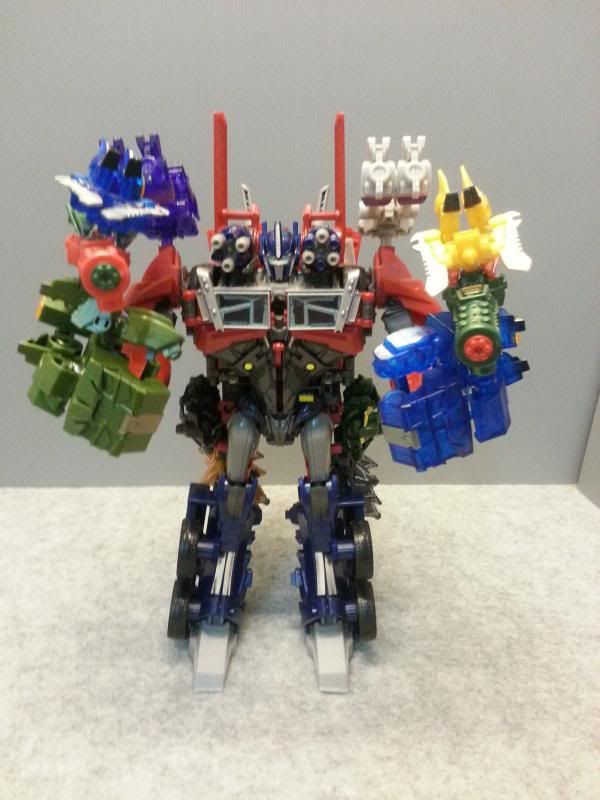
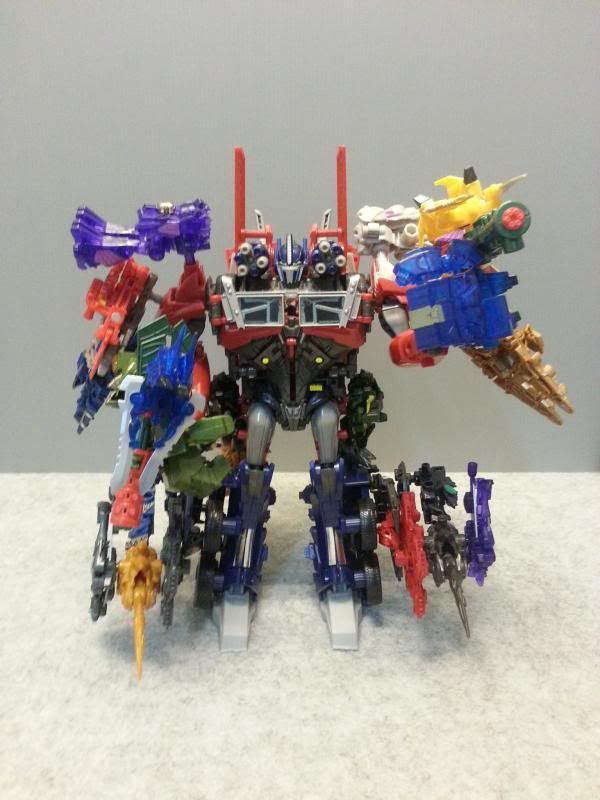
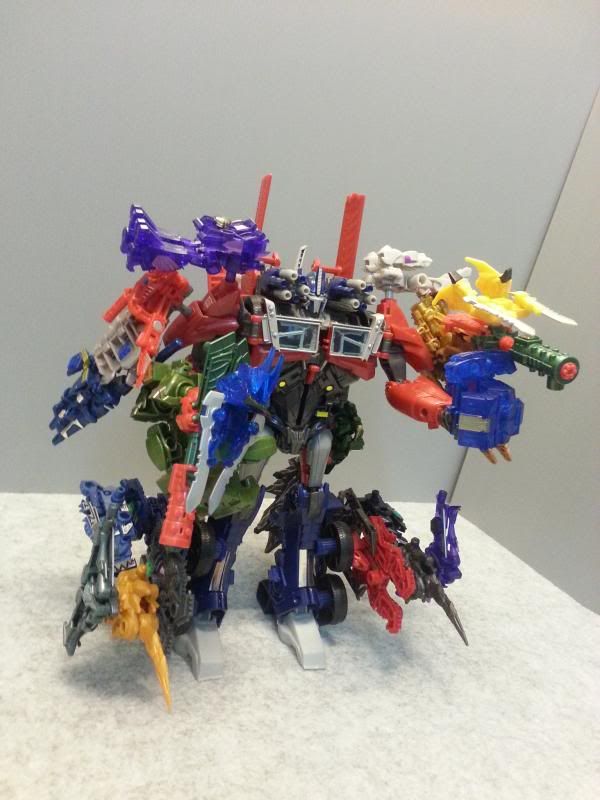
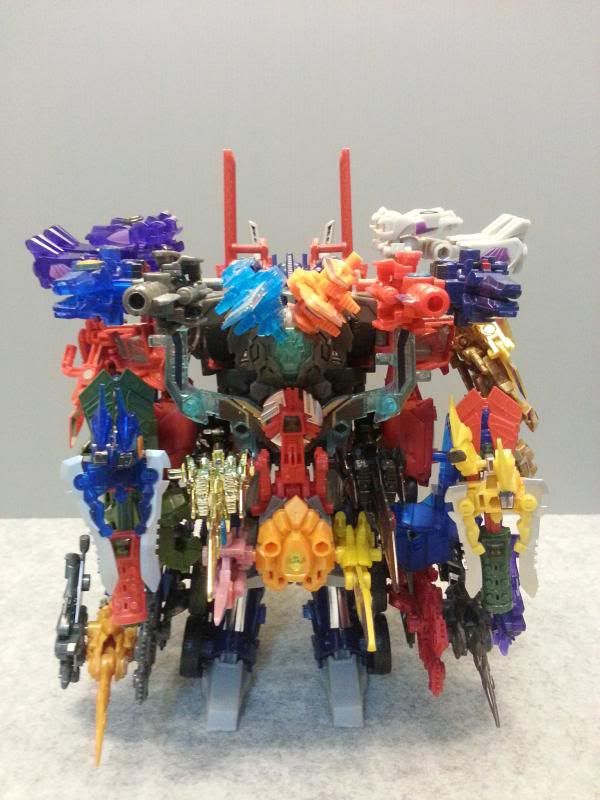
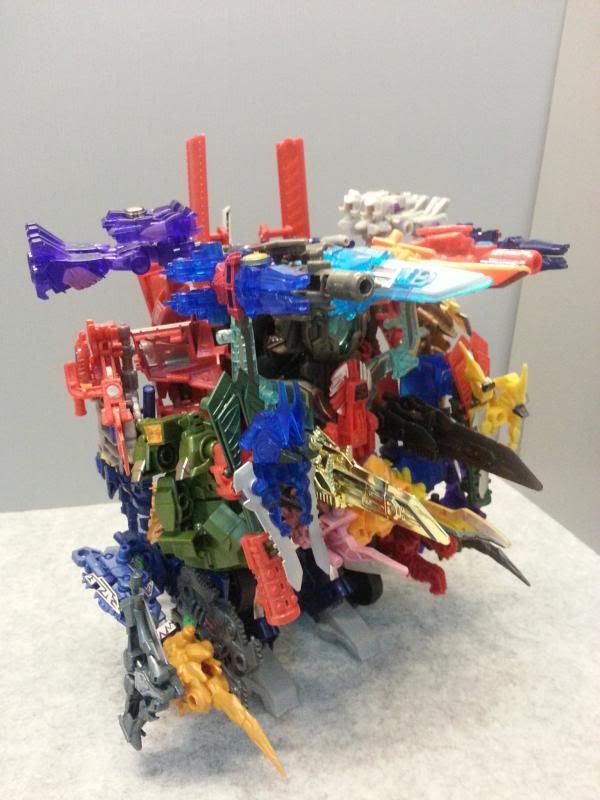
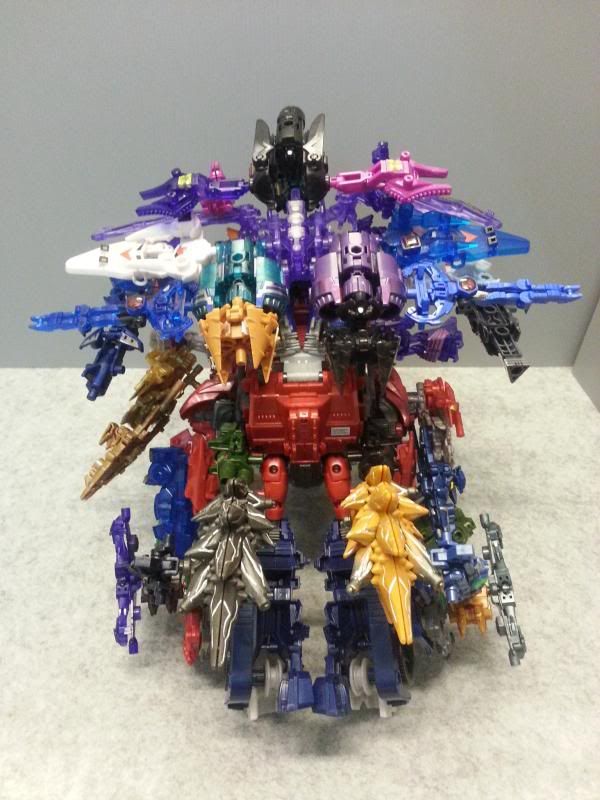
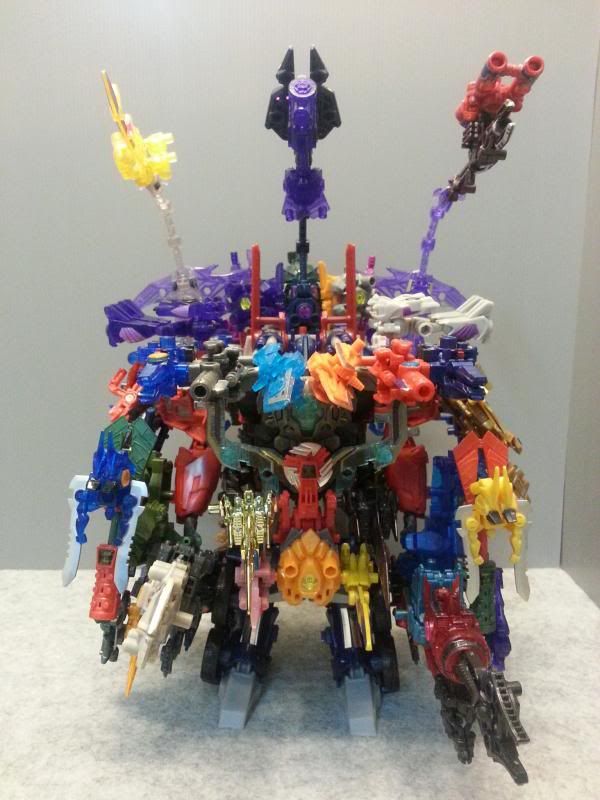
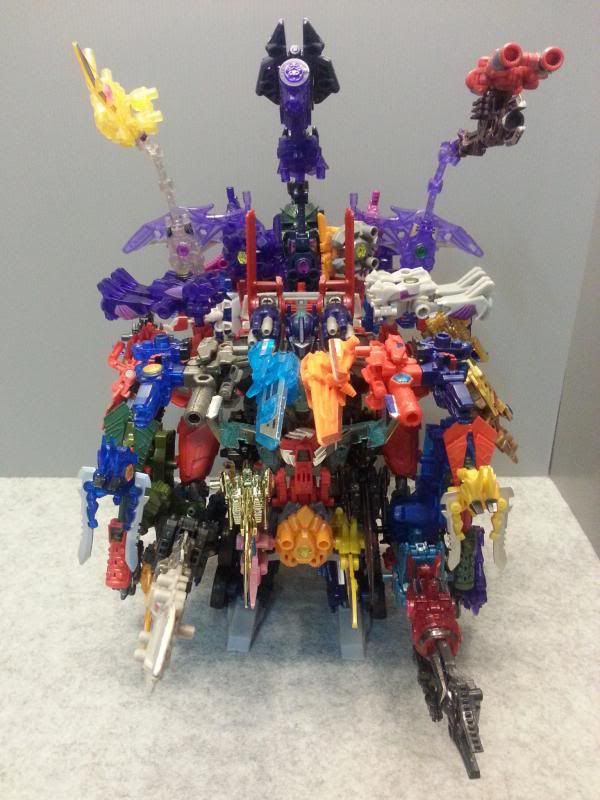
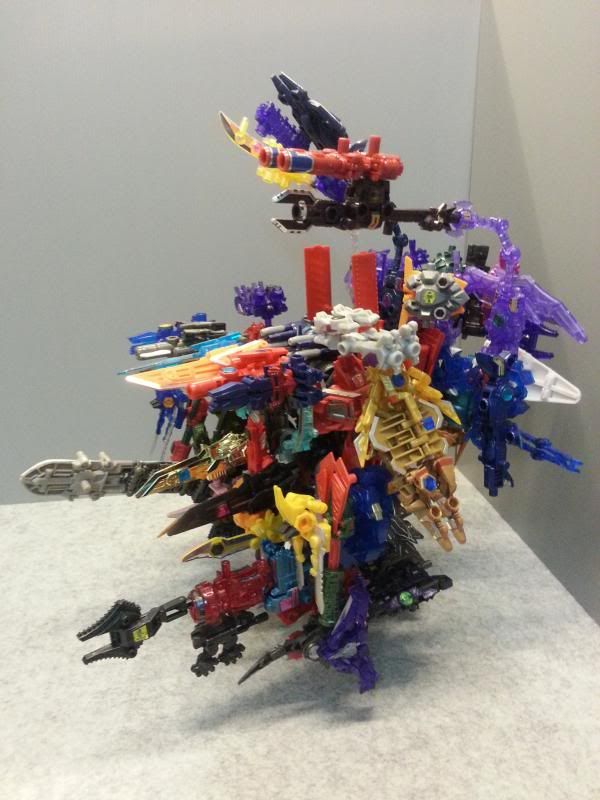
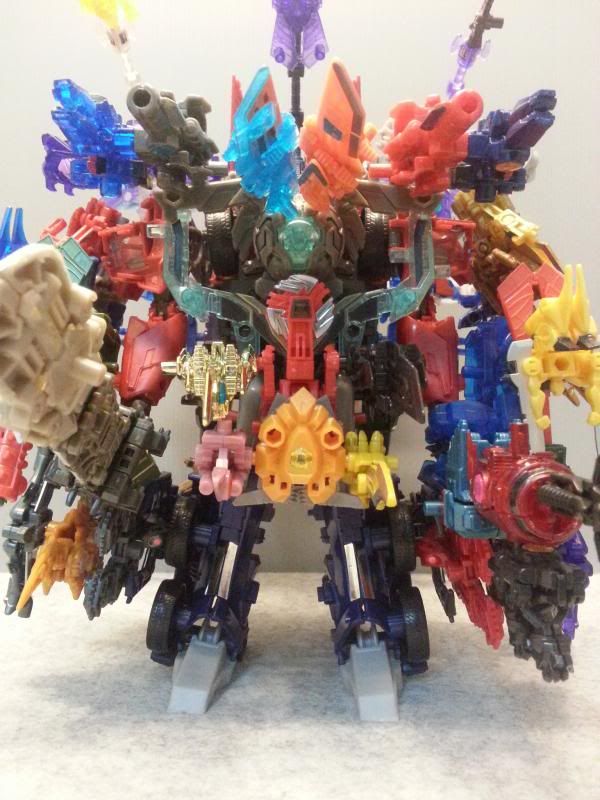
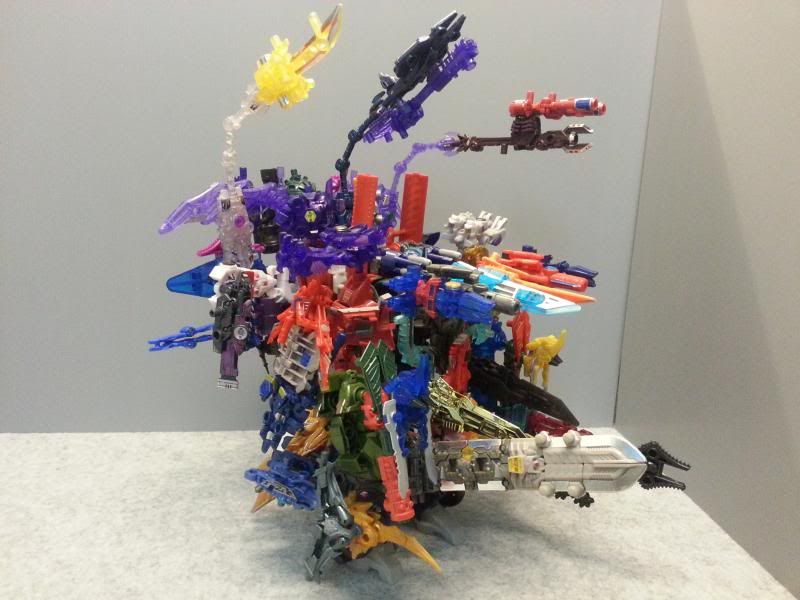
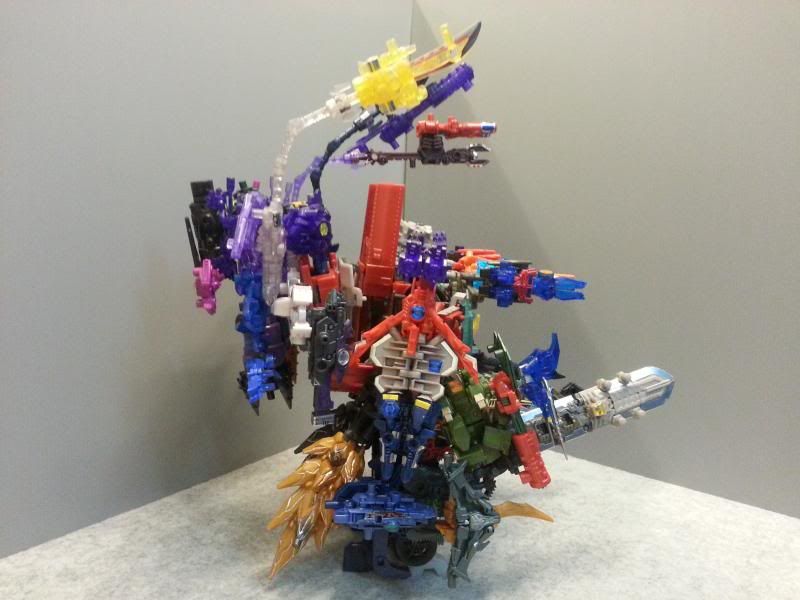
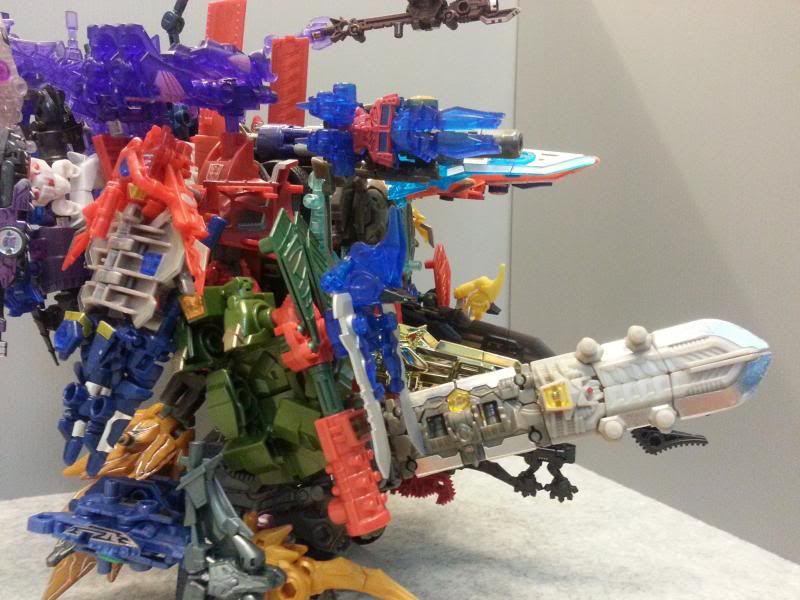
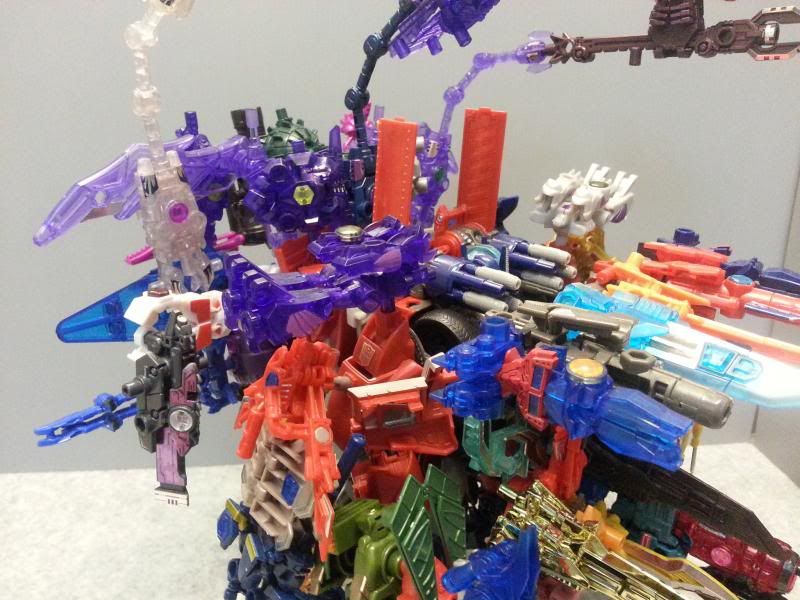
Here after combining all the different sections of the Micron sets, we have the final product.
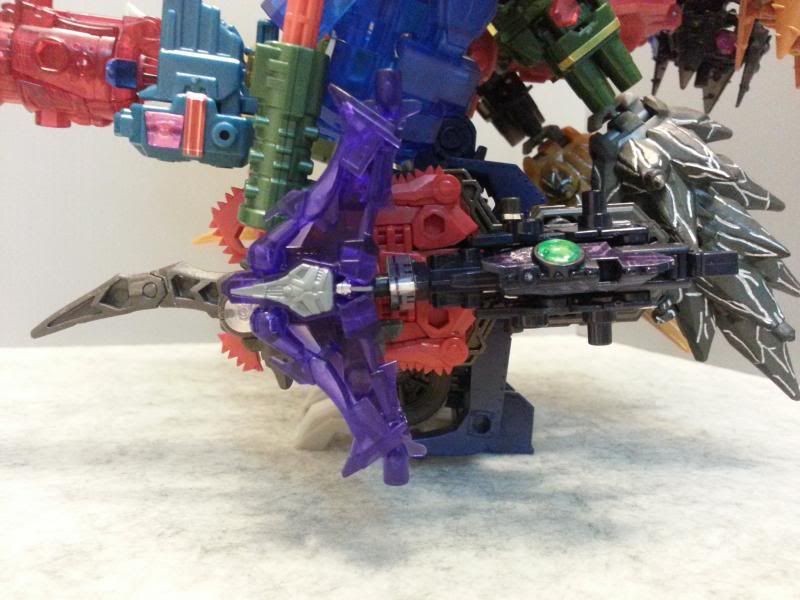
Even though there are seventy four Microns on this figure, I've attached them proportionately & the figure wouldn't topple to the back. The main reason is because of the rear thrusters. This serves as a back up stand to prevent the figure from falling backwards.
In conclusion, to date, I've yet to find any other combination that I can maximize & fully utilize all the Arms Microns. As I am blogging about this figure, I have just obtained another set of exclusive Arms Micron from the Transformers Go! series. However, I'll leave that for another time.
